
(German Version: https://wp.me/p3Vyfd-aP)
The skybow solution studio provides action links to respond to events or user interactions.
The available actions let the poweruser create comprehensive solutions:
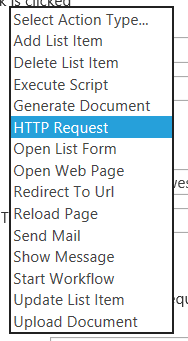
Adding, deleting or updating list items, opening list forms, showing messages or executing SharePoint 2013 workflows: skybow offers many tools that can be combined to powerful processes using the Action Builder. For more complicated applications, however, the „Execute Script“ action comes into play, opening the door to the Office365 world.
But the aim of the skybow Framework is to get along with lowcode or nocode. Therefore, I leave the Execute Script action aside here, because I do not really want to code.
If I want to execute complex processes behind an action in the Office 365 environment, integrating MS Flow is the obvious solution.
Fortunately, skybow offers an HTTP request action. And Flow comes with an HTTP request trigger.
Let’s go:
Adding the Flow
First of all, I log in at https://flow.microsoft.com with my orgranization account and create a new Flow without a template.
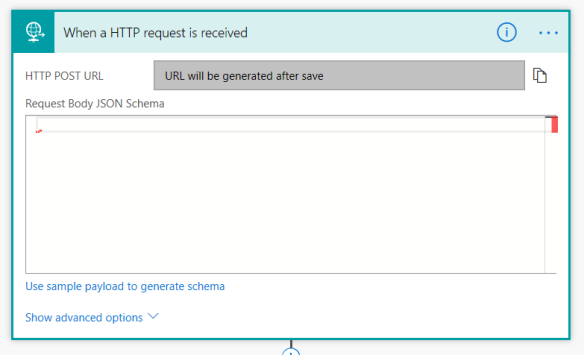
As trigger I choose When a HTTP request is received, as mentioned above:
As soon as the Flow is saved, a unique URL is generated and can be addressed by an HTTP Request.
Unless you determine a particular method, POST is used a default. For this example, however, we change the method to GET, in order to demonstrate the configuration on the skybow page in the next step:
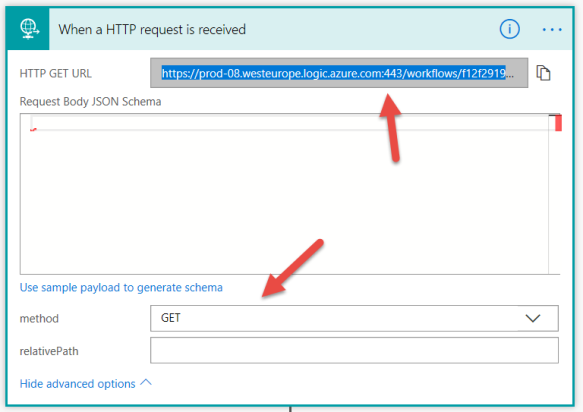
Now, I copy the unique URL of the flow to the clipboard, because I am going to need it for the Action Link request.
Thus, the most important step is done: namely the configuration of the endpoint in which all the wonderful functions can be set that lift our skybow solution from SharePoint Online into the big Office 365 universe.
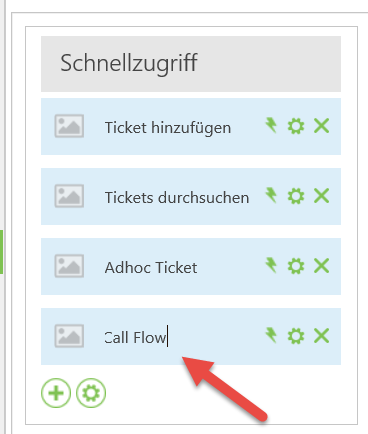
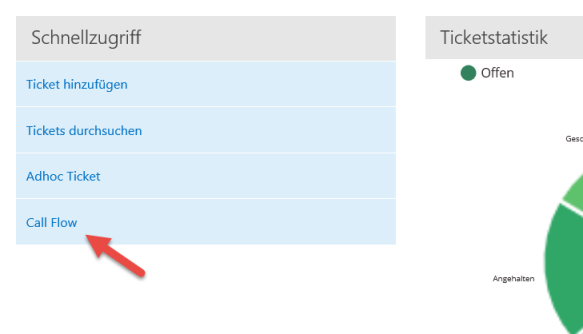
Integrating skybow Action Links
Now, I create an Action Link and add a title:
A click on the flash on the right hand side opens the Action Builder that allows for creating execution sequences.
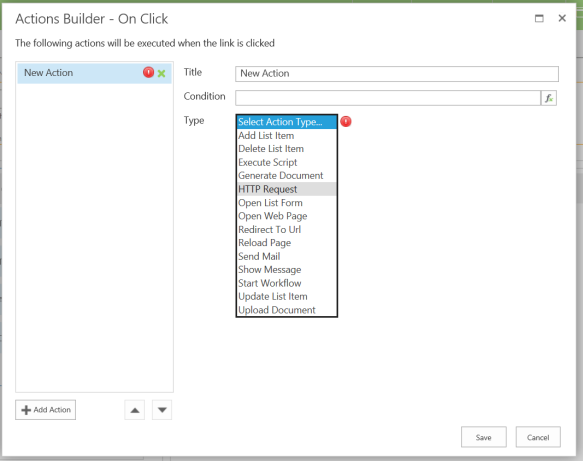
Here, I select the HTTP Request Action to address the Flow I just created.
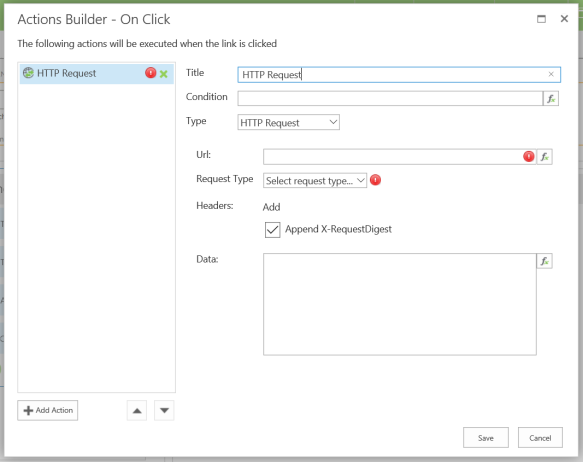
I select GET as method. If I had not explicitly configured the flow as GET, I would have had to choose POST as this is the default method for Flow.
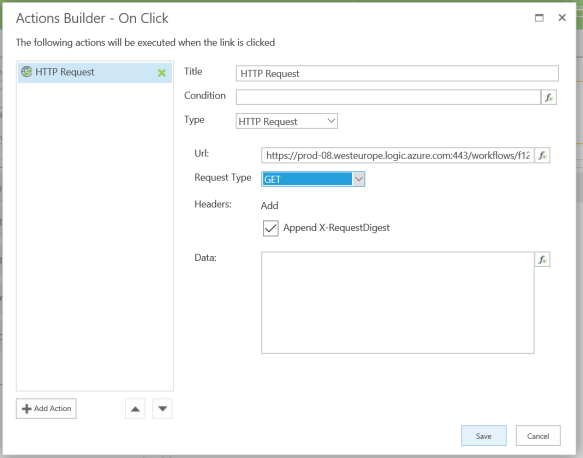
Now, I past the Flow URL from the clipboard into the URL field.
Done 🙂
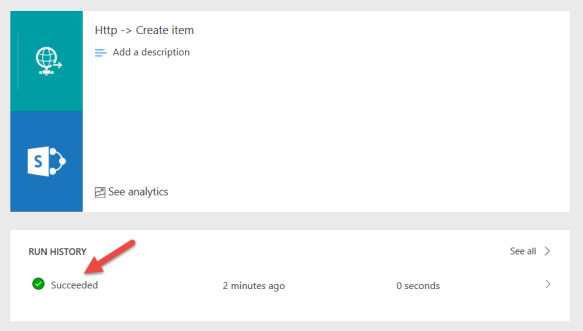
If I test the application and activate the Action Link, the Flow request takes place. That I can check under Run History in the Flow.
I’ll describe the opportunities of parameterization in detail in a future post.
Do you have any questions or comments? Feel free to contact me on Twitter at @papariedel.
Happy Low Coding 😊
P.S.: Of course there are other ways to implement this, too. But Skybow is my favourite Framework.

Du muss angemeldet sein, um einen Kommentar zu veröffentlichen.